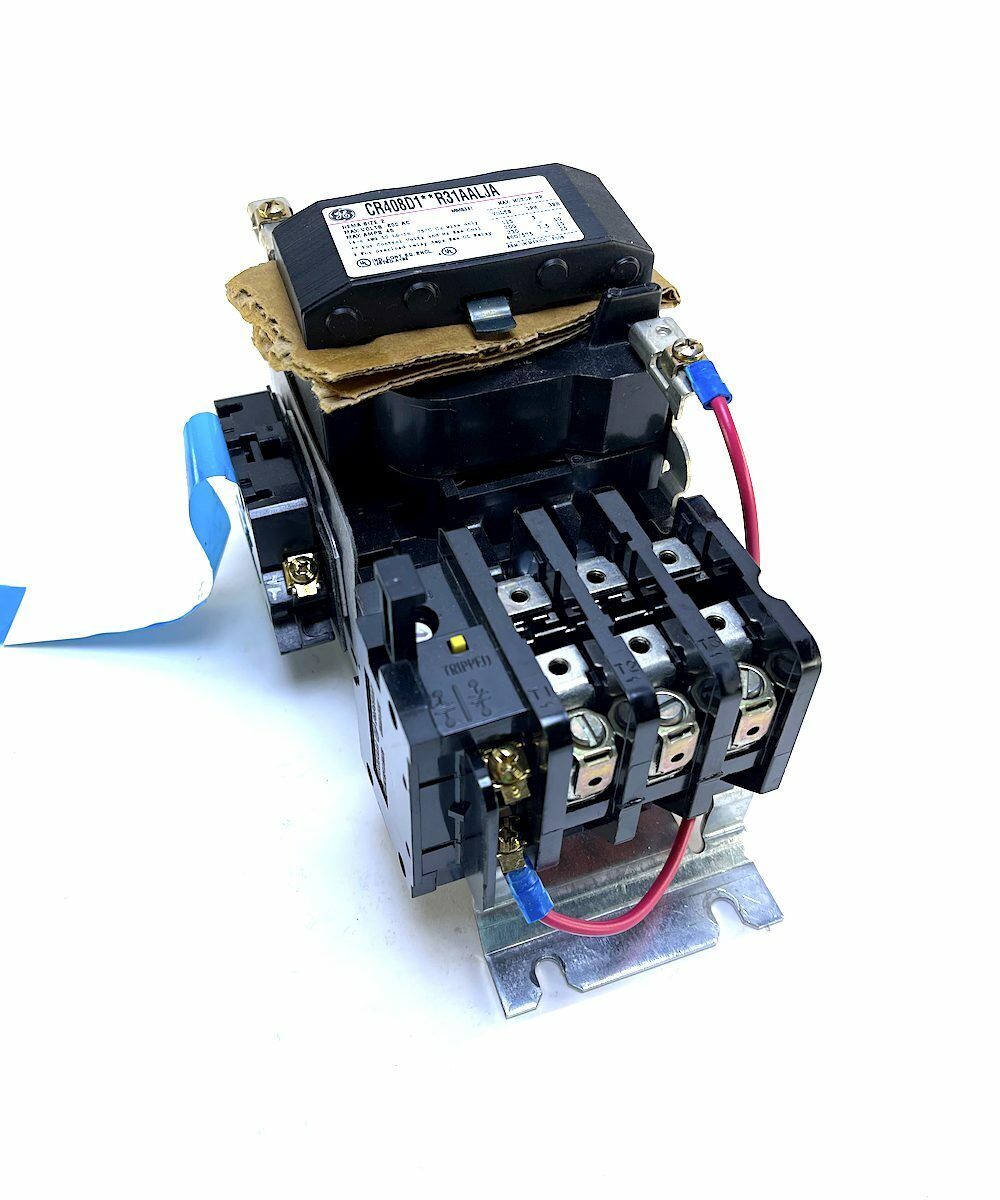
In the instructional video above, you will learn the step-by-step process of replacing a starter coil, specifically focusing on a Square D size 2 motor starter. Whether dealing with a faulty starter coil due to damage or burning out, the process entails removing the cover and carefully handling the coil and iron components. From disconnecting the old coil to securely connecting the new one, ensuring proper alignment, and testing for free travel, this guide will walk you through every step.
Stay tuned for more insights on testing, parts and functions of motor starters, how they work, and troubleshooting tips.
Importance of Replacing a Faulty Starter Coil
Replacing a faulty starter coil is essential for ensuring the reliable operation of your motor starter. The starter coil is a critical component that initiates the motor starter’s function, which controls the electric current to industrial motors.
When the coil becomes damaged or burns out, it can lead to inconsistencies in motor performance or even a complete failure to start. Replacing a faulty starter coil quickly can prevent further damage to the motor starter and avoid unexpected downtime in operations. A defective coil can also cause electrical inefficiencies that may increase energy consumption and costs.
By replacing the starter coil, you maintain the integrity of your motor control system and ensure that your equipment is operating safely and at optimal efficiency.
Steps to Replace a Starter Coil
Begin by removing the nameplate cover of the motor starter. Carefully extract the old coil, avoiding any damage to the iron, then change it out for the new coil. Here’s a clear, step-by-step rundown:
- Unscrew the top two housing screws to remove the cover.
- Gently remove the coil and iron, ensuring the iron doesn’t drop.
- Separate the iron from the old coil and set it aside.
- Put the new coil and iron together, checking to make sure there is free travel.
- Line up the iron and coil assembly and insert it into the starter, navigating the armature ears into the slots.
- If it doesn’t go in, operate the connected button to adjust the flap, then check for free travel again.
- Replace the cover and conduct a test to confirm functionality.
Taking these steps not only restores your starter to working order but also extends the lifespan of your motor system.
Testing the New Starter Coil
After the new coil is installed, it’s important to test it to ensure it’s functioning correctly. Here’s a general overview of the testing process:
- Isolate the power: Always isolate the motor starter from the power source to ensure safety during testing.
- Use multimeter testing: Always use a multimeter for a basic check after replacing the coil. It’s a quick and easy way to confirm there aren’t any obvious problems before potentially energizing the entire system.
- Use bench testing: If you have the resources and are comfortable doing so, a bench test provides a more thorough evaluation. This can be especially helpful if the multimeter test shows some anomalies or if you want extra peace of mind before reintegrating the starter into the system.
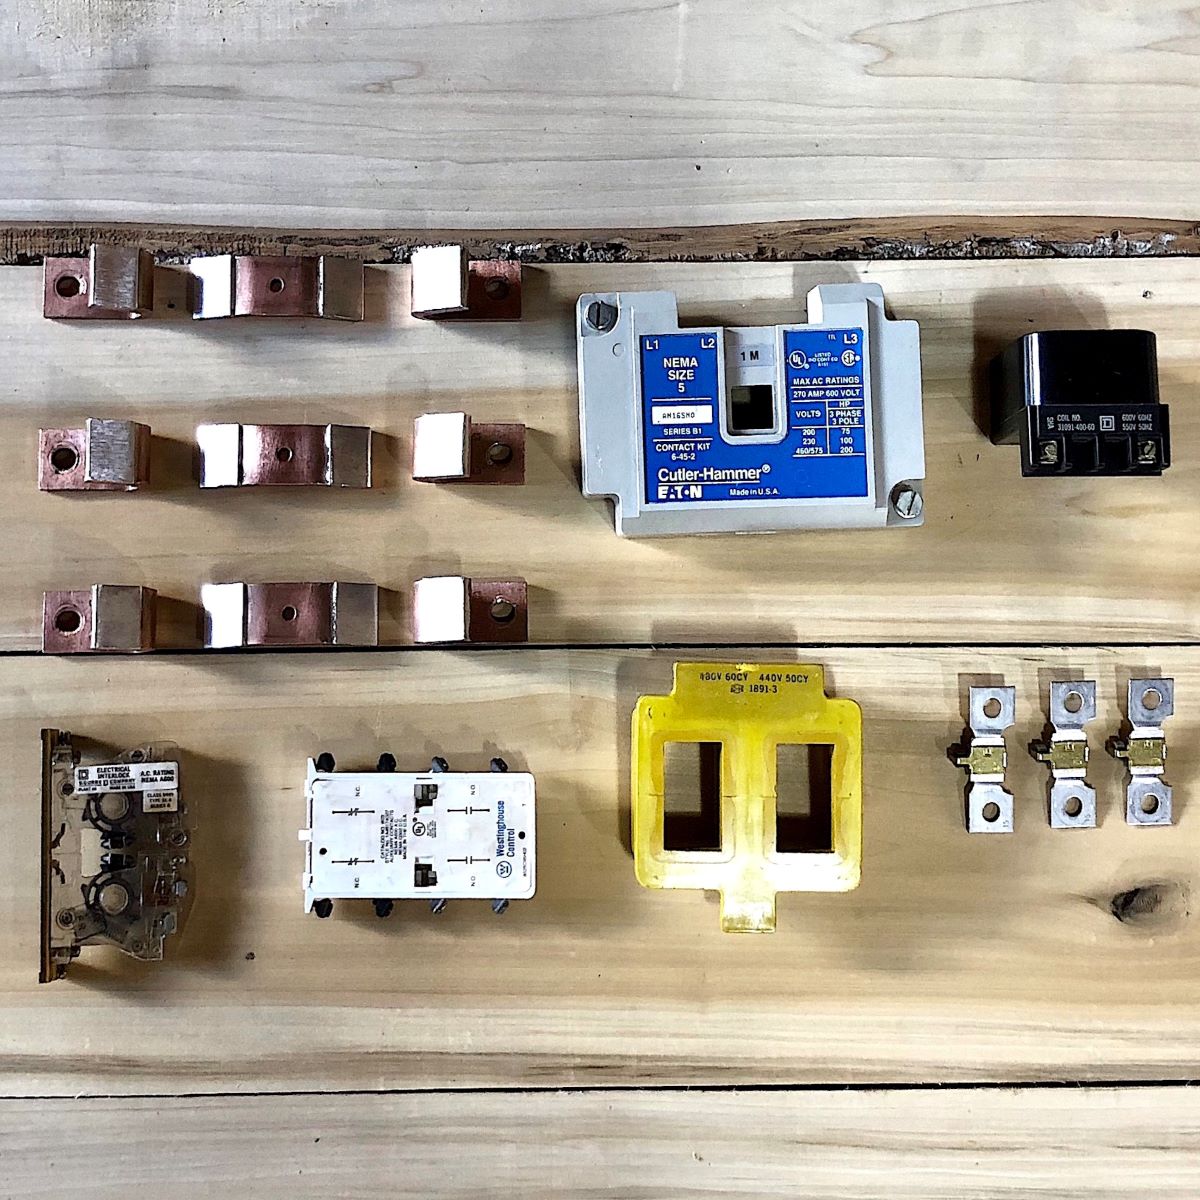
Inside a Square D Motor Starter
Curious about the parts of a Square D motor starter? Take a peek inside! This essential device controls the flow of electricity to power up your motors. Here are some of its key parts:
- The Coil: This is the brain of the operation. When energized, it creates a magnetic field.
- The Armature: This steel component works like a mini electromagnet, responding to the coil’s magnetic field and initiating mechanical movement.
- Contacts: Imagine these as switches. When the armature moves, these contacts connect, allowing electricity to flow through the motor starter.
- Overload Protection: This safety feature acts like a guard, stopping the flow of electricity if it senses too much current, protecting the motor and the starter itself.
Types of Motor Starters and How They Work
Motor starters are classified into several types, each with its unique way of controlling the power supplied to a motor. Understanding the different types of motor starters and their operation is crucial for selecting the right one for your application.
- Direct-On-Line (DOL) Starters: The simplest type, providing full voltage to the motor for startup.
- Manual Starters: Operated by hand, these starters include a protective overload relay.
- Magnetic Starters: These are essentially across-the-line starters with an electromagnet to operate the contactor, which can be automated using control circuits.
- Soft Starters: Reduce the initial voltage to the motor, allowing for a gradual increase in power, and minimizing mechanical stress.
- Variable Frequency Drives (VFDs): Control the frequency and voltage supplied to the motor, offering precise control over motor speed and torque.
Each type serves a specific purpose, from the simplest direct start to the more complex VFDs that provide advanced motor control. The right choice depends on factors such as the motor size, application requirements, and desired level of control.
Troubleshooting Industrial Motor Starters
Motor starters can experience a range of issues that affect their performance. Being aware of common problems can help in troubleshooting and maintaining efficient operation. Here are frequent issues to look out for:
- Overheating: High temperatures can be caused by excessive current, poor ventilation, or a faulty overload relay.
- Coil Failure: A starter coil can burn out due to voltage issues, frequent starting, or aging.
- Contact Wear: The contacts may wear down over time due to arcing and need to be replaced to ensure proper operation.
- Control Circuit Issues: Faults in the control circuit can prevent the starter from functioning, necessitating a thorough check of wiring and components.
- Mechanical Jams: Obstructions or damage to moving parts can cause the starter to jam, preventing it from engaging or disengaging correctly.
Regular inspection can identify these issues early, allowing for timely repairs and reducing the risk of downtime. Always ensure the power is isolated before inspecting or servicing a motor starter.
How to Address These Issues
To address common issues with motor starters, follow these steps:
- For Overheating: Check for excessive load and ensure proper ventilation. Replace the overload relay if it’s malfunctioning.
- Coil Replacement: If the coil is faulty, replace it following the guidelines provided for starter coil replacement. Also, check for correct voltage levels.
- Contact Maintenance: Inspect contacts for wear and replace them if necessary. Clean contacts can help reduce arcing and extend their life.
- Control Circuit Troubleshooting: Verify that all connections are secure and look for signs of damage or wear on the wiring. Use a multimeter to check for continuity and correct voltage.
- Mechanical Fixes: If there’s a jam, carefully disassemble the necessary parts and remove any debris. Check for and repair any damaged components.
Routine maintenance, including these troubleshooting steps, helps avoid prolonged downtime and ensures the longevity and reliability of your motor starters. Always prioritize safety when performing repairs and maintenance.
Power Up Your Knowledge
Now you should have the knowledge to replace a starter coil, a vital skill for reliable motor operation. We’ve walked you through the step-by-step process for a Square D size 2 starter, but the core concepts apply to similar replacements.
This knowledge extends beyond coil replacement into different motor starter types, their functionalities, and common troubleshooting techniques. By understanding these components and potential issues, you can proactively maintain your motor control systems and prevent unexpected downtime.
If you’ve followed the steps in this guide but still have questions or need further clarification, we at Electrical Power and Control are here to assist you! Whether you’re dealing with a faulty starter coil or need advice on bench testing and troubleshooting, our team of experts is ready to provide you with the solutions you need.
Don’t hesitate to reach out—call us at 205-812-5402 for more information or assistance. Trust us to be your partner in maintaining a safe and productive industrial environment!