Troubleshooting industrial motor starting issues requires a deep understanding of various potential causes, making it a crucial skill for industrial electricians and operations managers.
Spotting the Problem: Wiring and Power Disconnection
Before diving into the specifics of motor starter troubleshooting, it’s important to start with a thorough check of the basics.
First, examine the cables and terminals closely. Look for any visible signs of damage, such as burns, breaks, or frayed wires, which may be the root cause of your motor starter issues. If you see any evidence of damage, disconnect the power.
A methodical approach to this initial checklist can often reveal simple issues that are easy to fix. Taking care of these basics can save time and effort before moving on to more complex diagnostic tasks.
Overload Trips
A crucial safety feature of motor starters is overload protection. This protection helps prevent motor damage and potential fire hazards by automatically stopping the motor when it draws excessive current for a prolonged duration. This situation is commonly referred to as an overload trip.
Causes of Overload Trips:
Several factors can contribute to a motor starter experiencing overload trips:
- Mechanical Issues: Increased friction within the motor due to worn bearings, seized components, or excessive load can cause the motor to draw more current, leading to an overload trip.
- Electrical Issues: Short circuits, loose connections, or problems with the power supply can result in abnormal current flow and trigger an overload trip.
- Motor Undersizing: Using a motor starter with an overload relay that is not properly rated for the actual motor’s current requirements can lead to frequent trips, as the relay might be set too low for the motor’s normal operating current.
Identifying and Addressing Overload Trips:
In most cases, the motor starter will exhibit signs of an overload trip, such as a tripped circuit breaker, a visible indicator on the overload relay itself, or the motor failing to start or stopping unexpectedly.
A qualified technician can use specific tools and procedures to confirm an overload trip and diagnose the underlying cause.
Important safety note: Before attempting any troubleshooting or repairs involving an overload trip, always de-energize the circuit and follow proper lockout/tagout protocols to ensure safety.
Once the circuit is safe, here are some general steps:
- Identify the cause: It’s crucial to investigate the reason behind the overload trip before simply resetting the relay. This might involve:
- Checking for mechanical issues within the motor.
- Inspecting for electrical problems in the wiring or power supply.
- Verifying that the motor starter and overload relay are properly sized for the application.
- Address the root cause: Once the cause is identified, take corrective actions to address it. This could involve repairs, replacements, or adjustments to the motor, wiring, or overload relay settings.
- Reset the overload relay (with caution): Only after addressing the root cause and ensuring it’s safe to do so, reset the overload relay following the manufacturer’s instructions. Remember, resetting without addressing the underlying issue can be dangerous and lead to repeated trips or potential motor damage.
Overload Failure: More Than Just a Trip
It’s easy to overlook overload failure when trying to understand why your motor starter isn’t functioning. Unlike an overload trip, an overload failure means the overload relay itself isn’t working due to either mechanical or electrical failure.
To identify an overload failure, first, examine the condition of the overload relay. If you notice visible signs of damage, like a burned or melted coil, it indicates that the relay has failed and needs replacement.
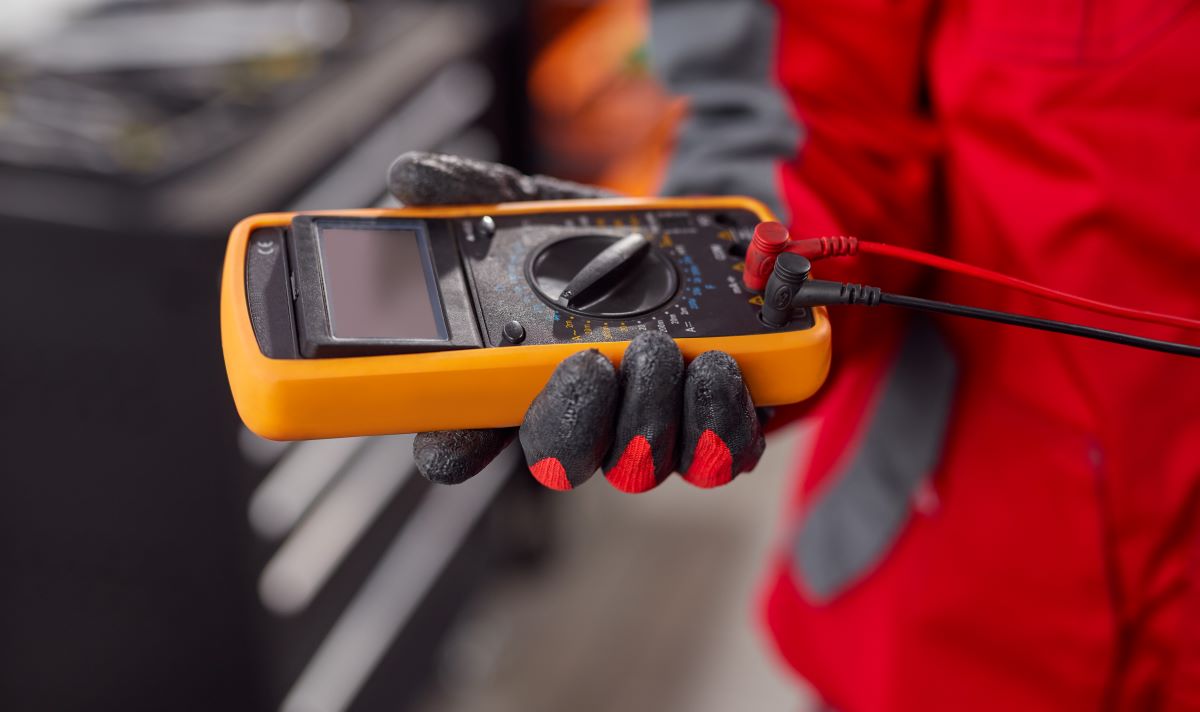
If there’s no visible damage, use a multimeter to test the conduction between each pair of the relay’s terminals. If the relay shows no signs of conduction, that means it has failed. In both cases, you should replace the faulty relay with a new one.
Power Supply Issues
Missing Phases
A motor starter requires a three-phase power supply for its operation. If one or more phases are missing, the motor starter won’t function. Monitor the power supply for missing phases.
Here’s what should be done if a missing phase is detected in an industrial motor starter:
- Immediately de-energize the system: This involves shutting down the power supply to the motor starter and ensuring all safety procedures are followed.
- Contact a qualified electrician or technician if needed: Explain the situation and the observed missing phase. A qualified professional can safely diagnose the source of the issue, which could be:
- A problem with the power source itself
- A fault within the wiring or cabling
- An issue with the motor starter or its connections
- Once the cause is identified, appropriate corrective actions can be taken to restore the missing phase and ensure the safe and proper operation of the motor starter. This may involve repairs, replacements, or further investigation depending on the specific circumstances.
Remember, safety is paramount when dealing with electrical systems, particularly in industrial settings. Never attempt to diagnose or fix missing phase issues yourself. Always rely on qualified professionals to ensure the safety of yourself and others.
Blown Fuses
A blown fuse can manifest in various ways, impacting the motor starter’s functionality. These may include:
- Complete lack of operation: The motor starter might not engage at all, preventing the motor from starting.
- Intermittent operation: The motor starter might function sporadically, stopping and starting unexpectedly due to the interrupted current flow.
- Visible signs: In some cases, you might observe physical signs of damage on the fuse, such as a blackened or melted glass envelope or a broken filament.
Before attempting any inspection or replacement of fuses, always prioritize safety. This involves de-energizing the circuit by completely turning off the power supply to the motor starter and following proper lockout/tagout procedures to ensure no accidental re-energization while working on the circuit.
Once the circuit is safe, proceed with the following steps:
- Visual Inspection: Carefully inspect the fuse for any visible signs of damage, as mentioned earlier.
- Multimeter Testing: Set your multimeter to the continuity setting. Touch the probes to the metal ends of the fuse, not the glass body. If the multimeter beeps or shows a reading close to zero, the fuse is good. If there’s no beep or an infinite value, the fuse is blown.
Replacement and Additional Considerations:
If the fuse is blown, replace it only with an identical fuse with the same amperage rating. Never attempt to “fix” a blown fuse by bypassing it or using makeshift alternatives. This can be extremely dangerous and lead to serious electrical hazards.
While replacing the fuse might restore immediate functionality, it’s crucial to investigate the reason behind the blown fuse. This could be due to:
- A temporary overload on the motor
- A short circuit within the motor circuit
- A faulty component in the starter itself
- An incorrectly sized fuse (too low for the motor’s current draw)
Ignoring the root cause can lead to repeated fuse blowing and potential damage to the motor or starter. If you are unsure about any aspect of checking or replacing fuses, or if you suspect a more complex electrical issue, consult a qualified technician for assistance. They can ensure the work is done safely and identify any underlying problems requiring further attention.
Remember, electrical safety is paramount. Always prioritize safety procedures, use appropriate tools, and seek professional assistance when necessary to avoid potential hazards and ensure proper functionality of your motor starter.
Continuity Faults: When Connections Fail
An interruption in continuity between terminals is another potential cause of a non-functioning motor starter. If there’s a break in the electrical path, the current won’t flow, and the motor starter won’t work.
You can test for continuity between terminals using a multimeter, as mentioned earlier. Set the multimeter to the continuity setting and touch the probes to the terminals of the motor starter. If the multimeter beeps or shows a value close to zero, it indicates that there’s a good connection between the terminals. If it doesn’t beep or shows an infinite value, there’s a continuity fault.
To fix this issue, start by checking for visible signs of interruption in the wiring, like a broken wire or loose terminal connection. If needed, replace the faulty wiring or reconnect the terminals.
Real-World Example: Problem to Solution
Imagine this…
An experienced factory technician notices a motor starter failing to engage. Initial inspection reveals no signs of physical damage. Upon testing, the technician discovers that the overload relay is tripped. Instead of immediately resetting the relay, the technician investigates further. Consulting the motor’s service records, they discover that the motor was recently serviced.
Suspecting that the service might have involved adjustments affecting the overload settings, the technician carefully examines the motor’s documentation and manufacturer instructions. They confirm that the relay was not reset to the correct setting for the motor’s current rating after service. Following the manufacturer’s guidelines, the technician adjusts the overload relay to the appropriate setting.
Unfortunately, even after adjusting the relay, the motor still refuses to start. Further troubleshooting with a continuity test reveals the culprit: a burned-out contactor coil. The technician replaces the coil and meticulously checks all connections for tightness and security.
Finally, with the repaired contactor coil and properly adjusted overload relay, the motor starter operates correctly.
This example underscores the importance of a comprehensive approach to motor starter troubleshooting. It also highlights how even seasoned professionals can benefit from following a structured process to diagnose and repair motor starters effectively.
How to Identify a Faulty Motor Starter
Identifying a faulty motor starter often begins with some telltale signs. If you press the start button and hear a humming sound without the motor turning, this could indicate a problem with the starter’s contactor. A starter that frequently trips or fails to stay closed suggests an issue with the overload relay or the thermal unit.
Sometimes, the starter may not engage at all, which could be due to a loss of power, a blown fuse, or a faulty control circuit. Visible damage, such as burnt contacts or damaged wiring, are clear indicators of a problem. In addition, if the motor starts but then stops unexpectedly, this may point to an intermittent fault in the starter.
Being alert to these signs can help quickly direct your troubleshooting efforts to the starter and expedite the motor starter repair process.
Reach Out to EPC for More Information
Troubleshooting industrial motor starters can seem daunting, but by following a methodical approach and prioritizing safety, you can effectively identify and address common issues.
For comprehensive assistance and expert solutions, call EPC today at (205) 812-5402. Our team of highly skilled professionals possesses the expertise and experience to diagnose, repair, and maintain your motor starters, ensuring optimal performance and safety in your operations.