Table of Contents
ToggleMotor starters are essential for controlling the operation of electric motors, ensuring that they start, stop, and run efficiently. But just like everything else, they need to be maintained every now and then…
Regular maintenance allows you to identify potential issues before they escalate, such as arcing on contacts or wear on moving parts. This proactive approach can save you time and money, contributing to the efficiency of your operations.
Properly maintaining motor starters can even extend their lifespan and improve the performance of your equipment!
Today, we’re focusing on Square D motor starters, specifically the size 2 model, which is known for its durability and ease of maintenance. We’ll guide you through the ins and outs of maintaining these starters, highlighting key components and offering practical tips to keep them in top condition, so watch the video above to follow along!
Let’s Talk Square D Motor Starters
Square D motor starters are renowned for their reliability and durable design. They come in various sizes, each suited for different applications. The size 2 model, which we will focus on, is particularly popular due to its manageable size and capacity to handle significant loads.
To keep your motor starter running smoothly, it’s important to understand how its moving and stationary contacts work together. During regular check-ups, look for signs of wear or damage on these contacts. Arcing or overheating can lead to serious problems if left unchecked.
By getting to know the inside of your starter, you can make sure you’re doing the right things to keep it in top shape.
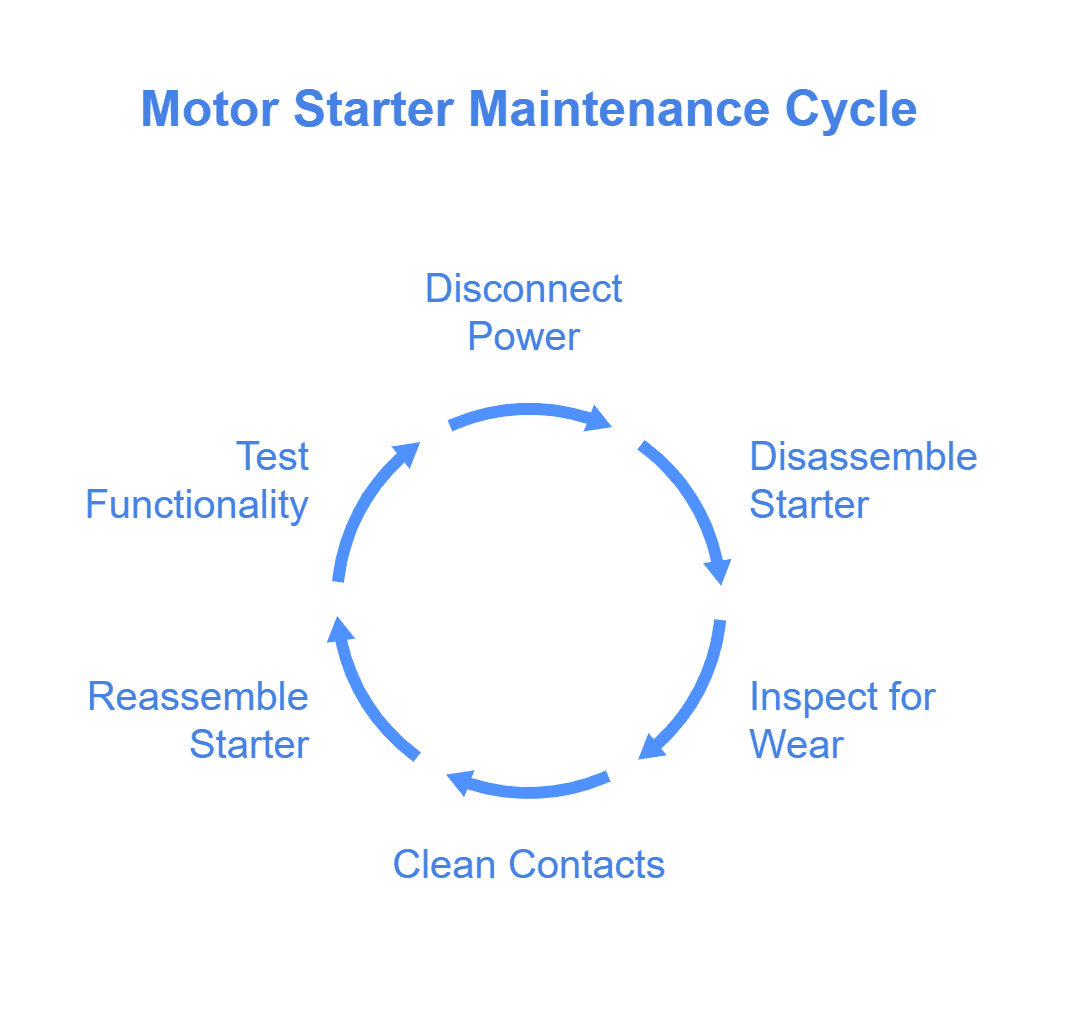
Maintenance Steps for Motor Starters
When it comes to maintaining motor starters, having a set of practical tips can make all the difference. First and most importantly, always ensure that the power is disconnected before you start any maintenance work. This is crucial for your safety and prevents any accidental energization of the starter while you’re working on it.
Once you’ve confirmed that the power is off, it’s a good idea to document the wiring connections before disassembly. This step will help you reassemble the motor starter correctly, avoiding any confusion later on.
As you begin to take apart the starter, pay attention to the orientation of the parts. For instance, the moving contacts and stationary contacts have specific placements, and recognizing their positions will simplify reinstallation.
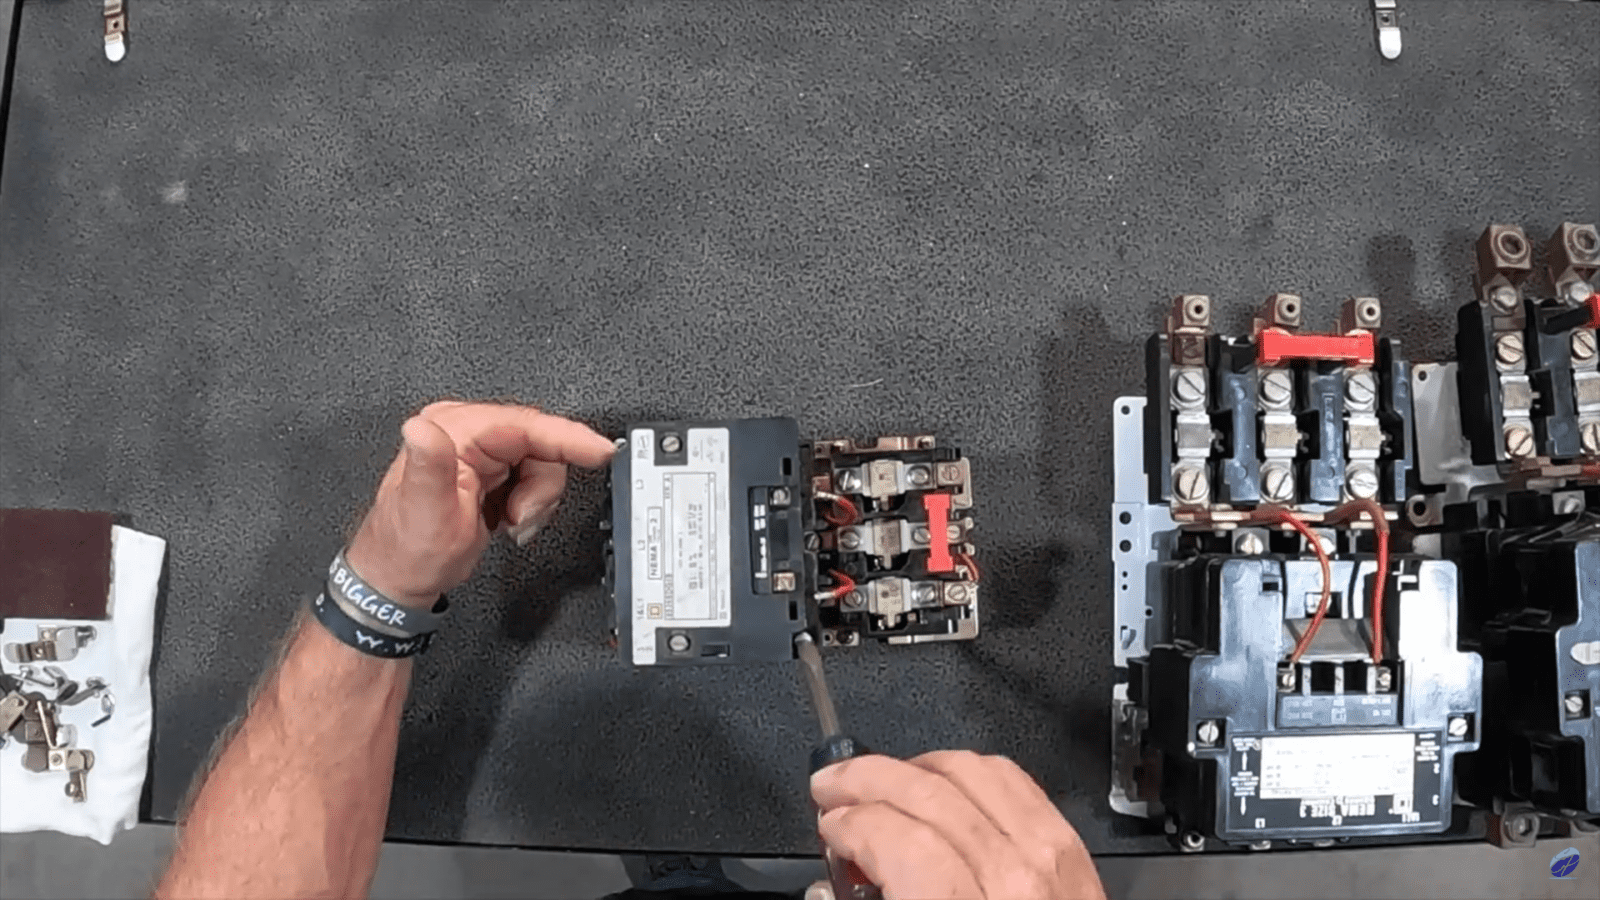
Disassemble The Starter
Start by loosening the wires from the coil, then loosen the screws holding the head to the body of the starter. Remove the head to access the inside of your starter.
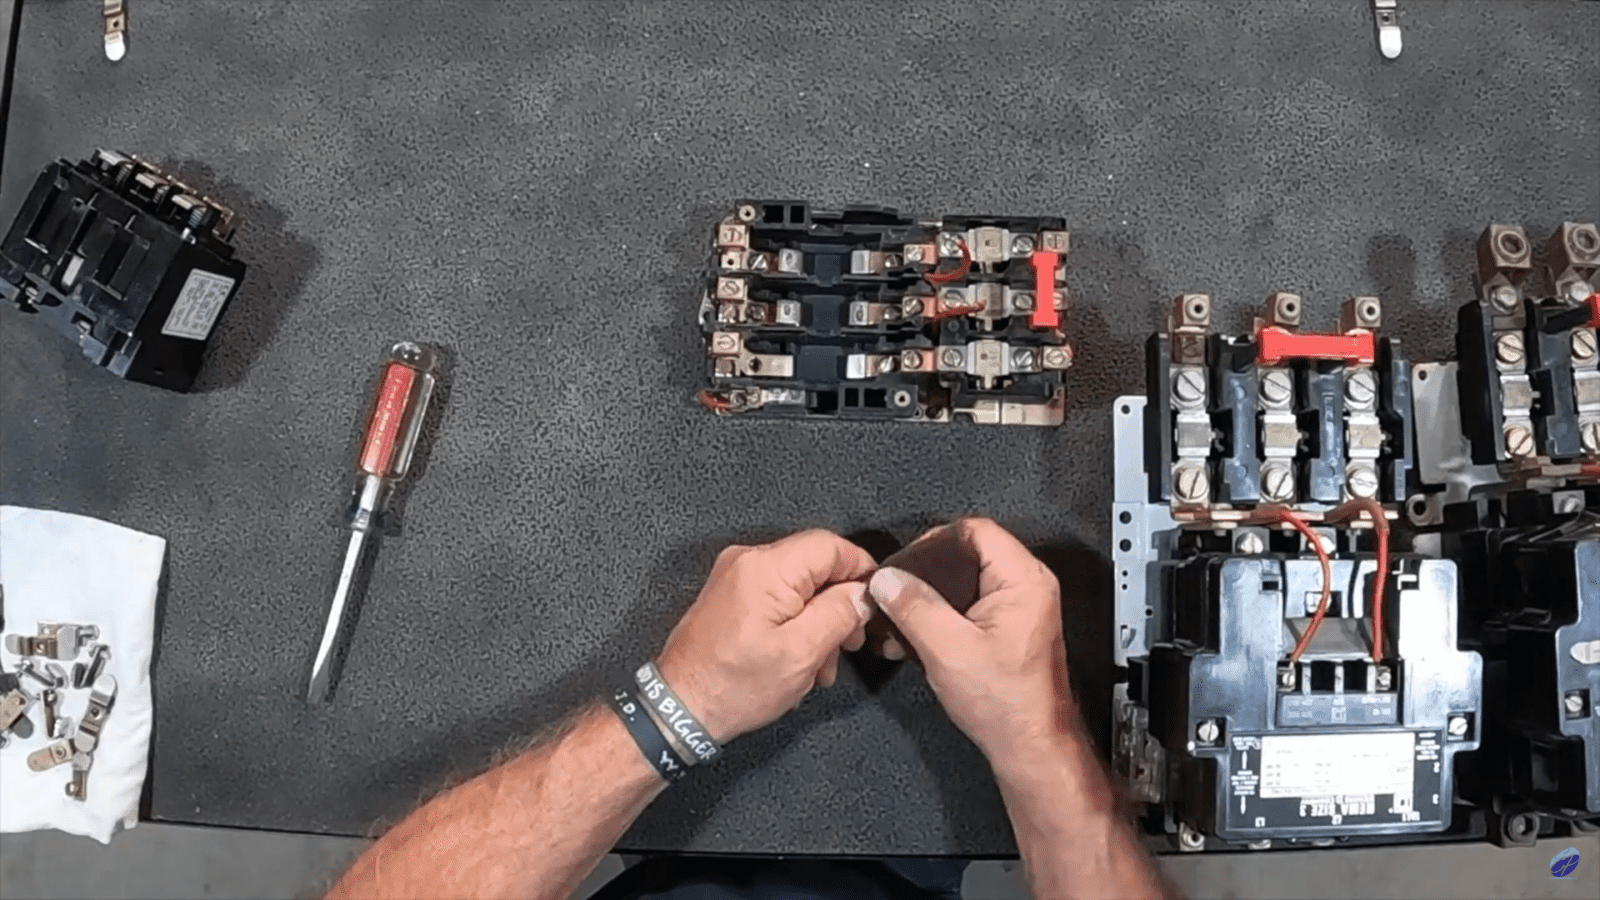
Clean The Contacts
You can either clean the contacts while they are in the assembly or take them out for a more thorough clean. If you’re going to pull out the contacts, take note of their shapes and positions; this will aid in proper reassembly. Handle the components gently to avoid damaging any parts.
Once you have the contacts removed, inspect them closely for any signs of wear, such as arcing or pitting, which indicates that cleaning or replacement is necessary.
We recommend using a scotch-brite pad to scuff the surface. This method helps remove any oxidation or minor pitting that may have developed over time.
Be careful not to overdo it; you want to maintain the integrity of the contact surface without creating unevenness. If you are too aggressive and create an uneven surface, it can lead to vibration and noise when the starter is in use. This can also build heat, which is a big issue.
If the damage to the contacts is severe, you may need to replace the contact kit altogether.
If you find that the contacts are consistently showing signs of arcing, it might be worth looking into the load conditions or the operational environment, as these can contribute to accelerated wear.
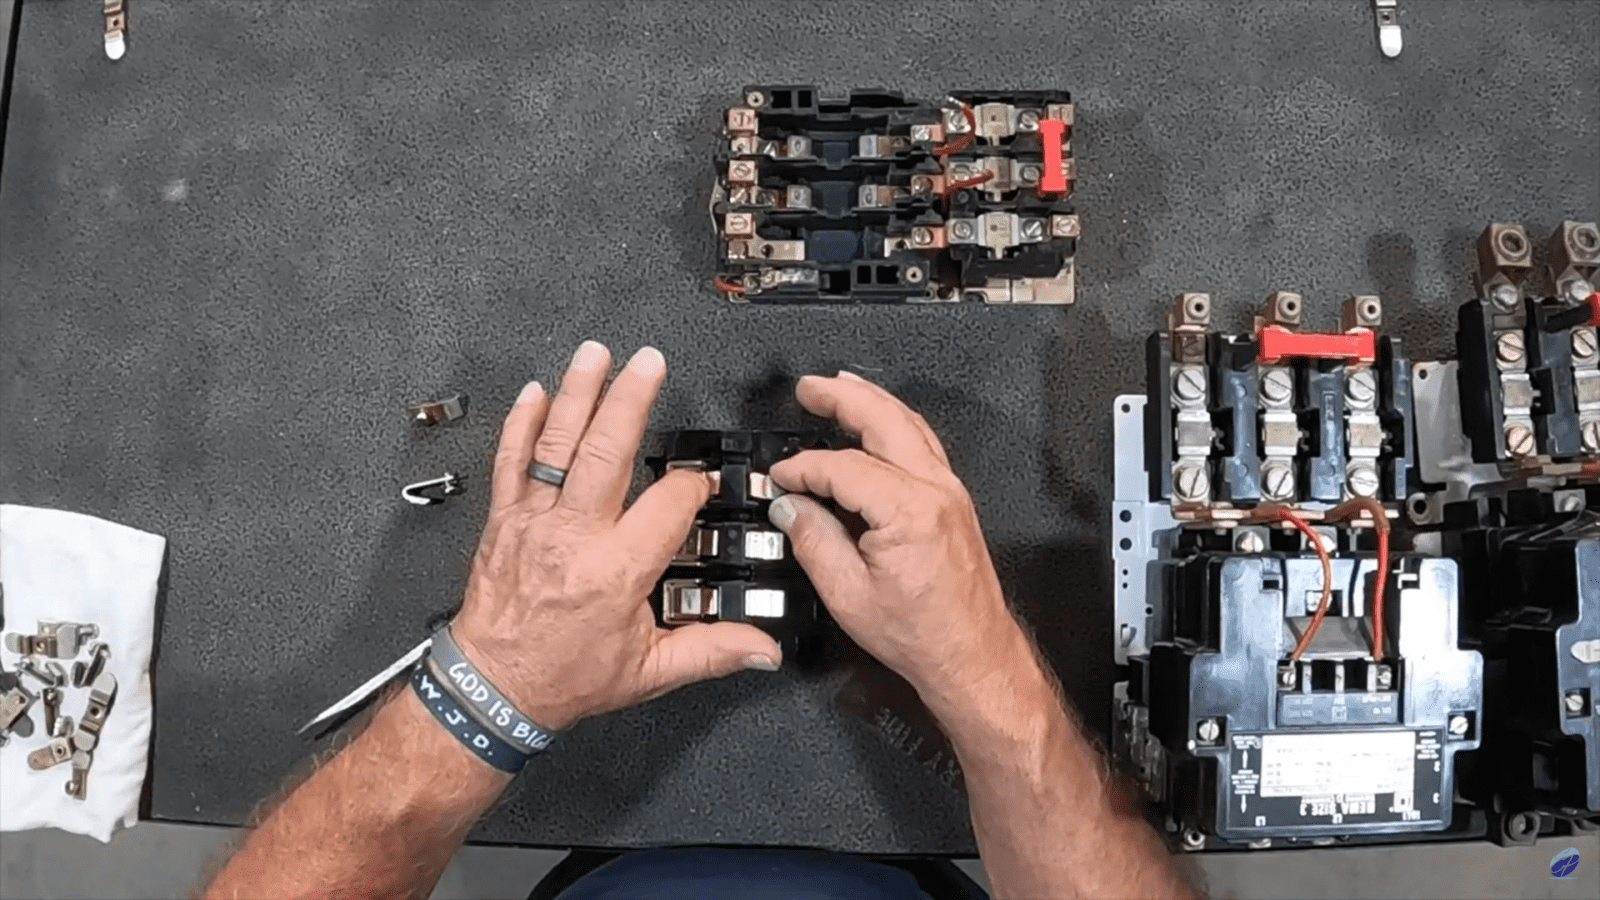
Reassemble and Test the Starter
Carefully reassemble the motor starter by following the reverse order of disassembly. Ensure that all components are correctly positioned, and reconnect the coil wires as you documented.
Once reassembled, restore power to the motor starter and conduct a functional test. Ensure that the starter operates correctly and that there are no unusual noises or overheating.
By following these steps, you can effectively maintain your Square D motor starters and extend their lifespan. Regular maintenance not only enhances performance but also prevents costly downtime and repairs in your industrial operations.
The Impact of Heat
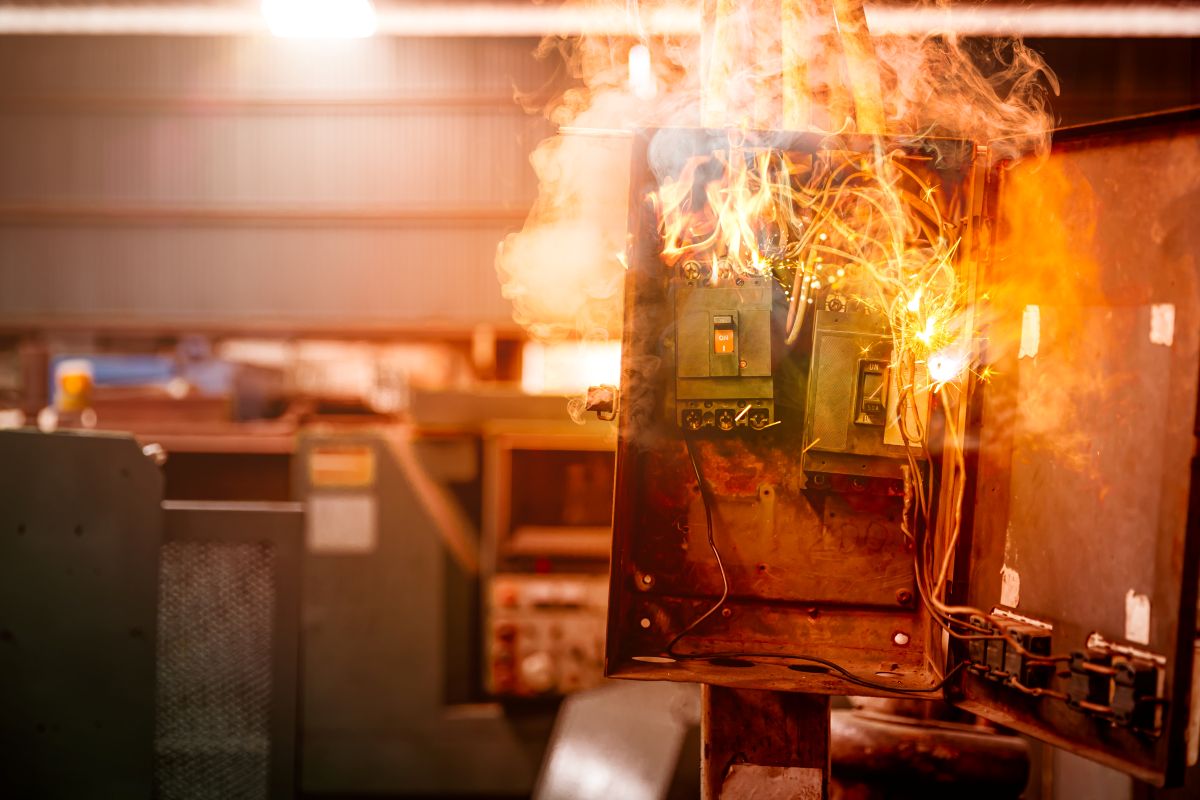
Heat is one of the most significant enemies of motor starter components. Excessive heat can lead to premature failure, especially in contacts and coils.
When the contacts do not make a proper connection, it creates resistance, which in turn generates heat. This heat can deteriorate the contact surfaces, leading to further arcing and pitting. An overheating motor starter even has the potential to cause a fire, so it’s important to do all you can to avoid creating too much heat between the components.
To combat this, regularly inspect and make sure that the contacts are clean and functioning correctly.
If you notice that the motor starter feels unusually hot during operation, you should investigate and find the underlying cause. This could be a sign of poor connections, overloaded circuits, or failing components.
When you understand the relationship between heat and the health of your equipment, you can take the necessary steps to mitigate these risks, ensuring that your equipment runs efficiently and lasts longer.
Why You Should Practice Preventative Maintenance
Preventative maintenance not only extends the lifespan of your motor starters but also enhances the reliability of your entire electrical system. By practicing regular maintenance, you create a buffer against potential failures.
For example, consider the contacts within the motor starter. If you notice any signs of wear, such as arcing or pitting, addressing these issues promptly can prevent overheating and further damage. During maintenance, it’s also wise to check other components for any signs of wear or degradation to see if they need to be replaced.
By keeping everything in good working order, you reduce the risk of unexpected downtime, which can be costly for industrial operations. Regular maintenance is not just a good practice; it’s an investment in the efficiency and reliability of your electrical systems.
Maintenance Safety Precautions
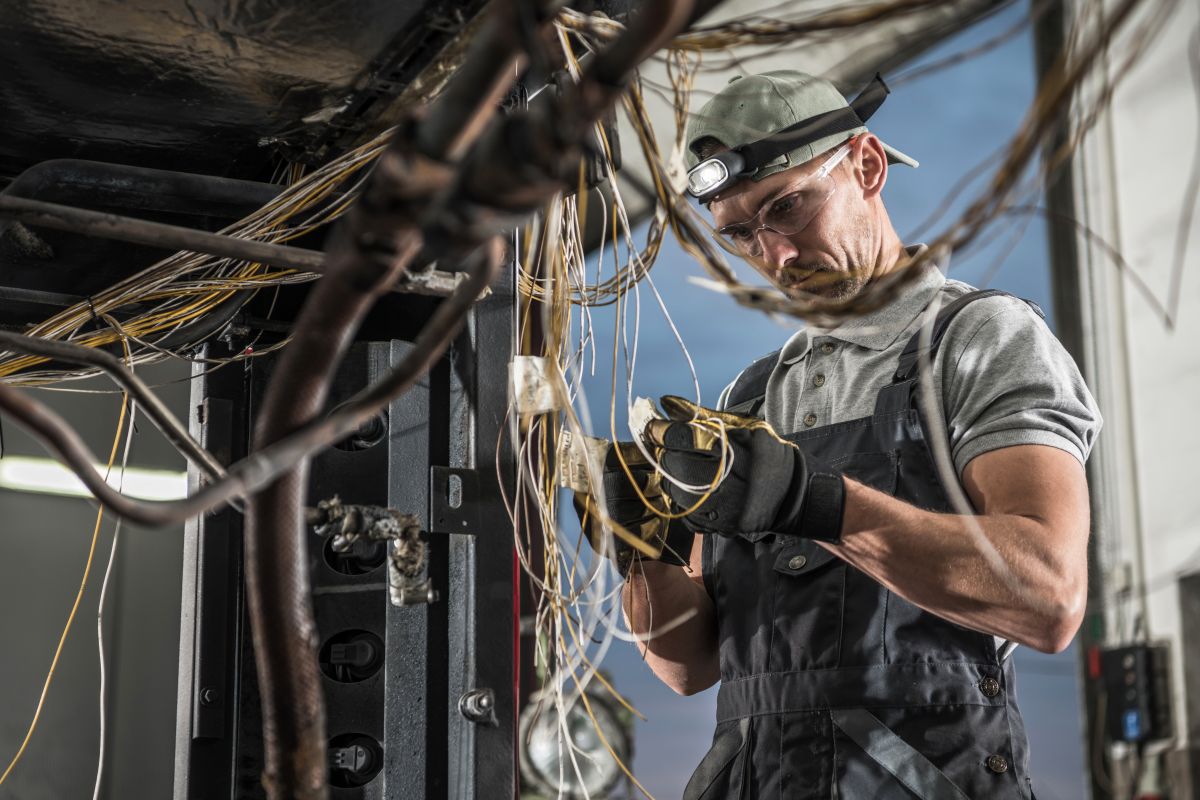
When it comes to maintaining motor starters, safety should always be your top priority. Doing maintenance tasks without taking proper precautions can lead to serious accidents or injuries.
One of the most critical safety measures is to ensure that all equipment is de-energized before beginning any work. This means completely disconnecting power sources and using lockout/tagout procedures to prevent accidental re-energization. By doing so, you create a safe working environment, allowing you to focus on the task at hand without the fear of electrical shock.
Especially if you’re doing maintenance on a starter without removing it from its container, always wear appropriate protective equipment such as safety glasses and insulated gloves, to further safeguard yourself from potential hazards.
Remember, a moment of caution can prevent a lifetime of regret.
De-energizing Your Equipment
De-energizing equipment is not just a best practice; it’s a fundamental requirement for safe maintenance.
When you pull a motor starter out of its enclosure for maintenance, make sure that it’s completely isolated from any power source. This includes not only the main power but also any control circuits that could inadvertently become energized during your work.
Before starting your maintenance, take the time to verify that the equipment is indeed de-energized using a reliable voltage tester. This step cannot be overstated; it’s your first line of defense against electrical hazards.
Additionally, when working on multiple pieces of equipment, always follow a systematic approach to ensure that all necessary circuits are properly isolated. This helps protect not just you but also anyone who may be working nearby.
Tips For Working in Enclosures
Working within electrical enclosures presents its own set of challenges and safety considerations.
First, ensure that the enclosure is clean and free of any obstructions that could impede your work. Before entering an enclosure, always check for any potential hazards, such as the presence of moisture or foreign objects that could cause electrical shorts. If the enclosure is cramped, use tools that are appropriate for the space to avoid accidents.
As you work, maintain good organization by keeping tools and parts neatly arranged, which not only enhances efficiency but also reduces the risk of accidents. Finally, take regular breaks to avoid fatigue, as tiredness can lead to lapses in judgment and safety.
You can create a safer and more efficient maintenance environment by following these tips.
Never Stop Improving
As you continue to refine your maintenance skills, keep in mind that knowledge is power, and staying informed about best practices will serve you well.
As technology evolves, so do the techniques and best practices for maintaining electrical systems. Engaging in continuous learning through workshops, training sessions, or online resources will enhance your expertise and keep you informed about industry advancements.
This commitment to education not only benefits your professional development but also contributes to the overall safety and efficiency of your workplace. Always seek out opportunities to expand your knowledge and share insights with your team, creating a culture of learning and improvement.
In the spirit of always improving day by day, we encourage you to explore our related article on troubleshooting motor starters. This resource provides expert guidance on identifying and resolving common motor starter issues.
Don’t hesitate to reach out to us if you have any questions!