Maintaining your circuit breaker is key to ensuring the safety and efficiency of your electrical systems. At Electrical Power and Control, one of the most common questions we get is, “How often should I get my circuit breaker serviced?” We’re here to answer that question and delve into the specifics of how often you should service your circuit breaker and the importance of regular maintenance.
We’ll also provide you with a guide for some quick cleaning and maintenance you can do right now; things that are simpler to look for and easier to clean, but can greatly extend the life of your equipment.
How Often Should You Get Your Circuit Breaker Serviced?
Determining the right time to service your circuit breaker involves considering both the environment and the specific application. For most industries, a general recommendation is to service your circuit breaker every 1-2 years.
Environments that are particularly dusty, humid, or have extreme temperature fluctuations may require more frequent servicing. For instance, a circuit breaker in a manufacturing plant with constant dust and debris might need annual maintenance, while one in a cleaner, controlled environment could extend to every two years.
Additionally, the age and condition of the circuit breaker play a role; older breakers might need more regular check-ups. Usage patterns are another factor; a breaker that operates frequently or under heavy loads may require more attention.
Regular servicing ensures that any build-up of dirt or minor issues are addressed before they escalate into major problems. It can also help prevent unexpected downtime, extend the life of your equipment, and maintain a safe working environment.
Importance of Servicing Your Breaker
Regular servicing of your circuit breaker is crucial for ensuring the safety of your electrical system. While occasional tripping can be inconvenient, a breaker’s primary function is to trip during electrical faults. If a breaker malfunctions and fails to trip when it should, it can lead to several dangerous consequences:
- Fires: During an overload or short circuit, excessive current flows through the wiring. A properly functioning breaker would trip, interrupting the current and preventing overheating. A faulty breaker that doesn’t trip allows this dangerous current to continue, significantly increasing the risk of electrical fires.
- Equipment Damage: Overloaded circuits can damage your equipment. A properly functioning breaker protects your equipment by tripping before excessive current can cause harm.
- Arc Flash Hazards: When a fault occurs, an arc flash can happen. This is a sudden, intense burst of heat and light caused by uncontrolled current. A faulty breaker that doesn’t trip increases the risk of arc flashes, which can cause property damage, severe burns, and even death.
By servicing your breaker regularly, you can help prevent these dangers and ensure it functions properly to protect your electrical system.
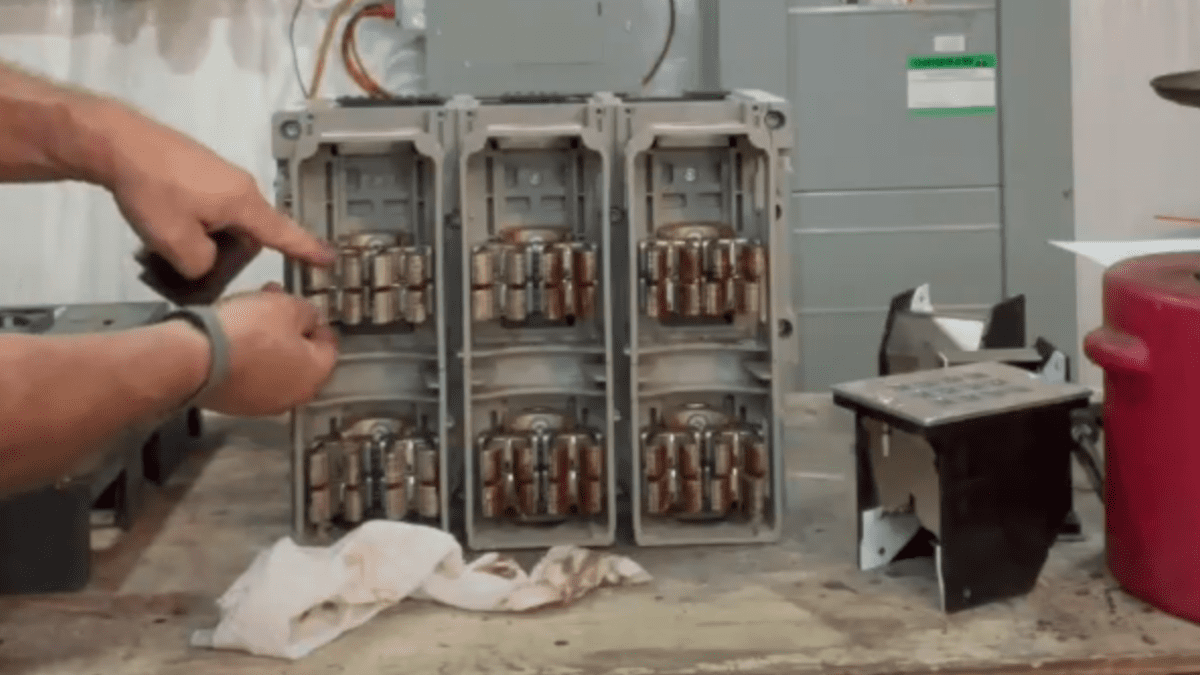
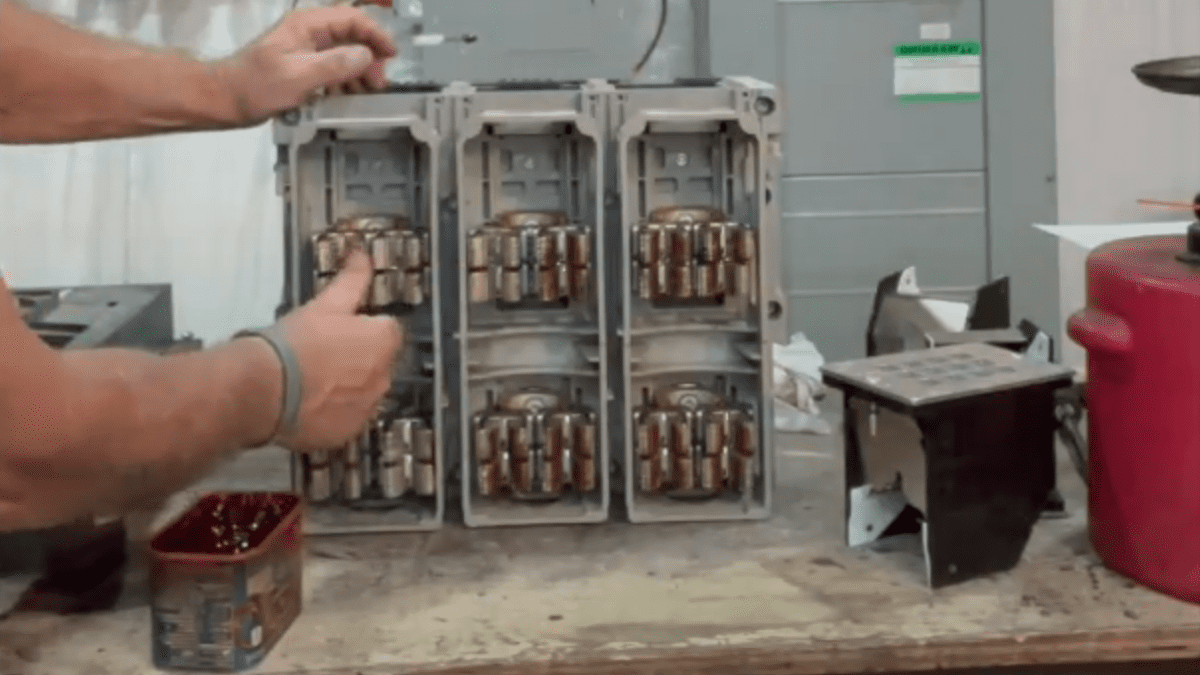
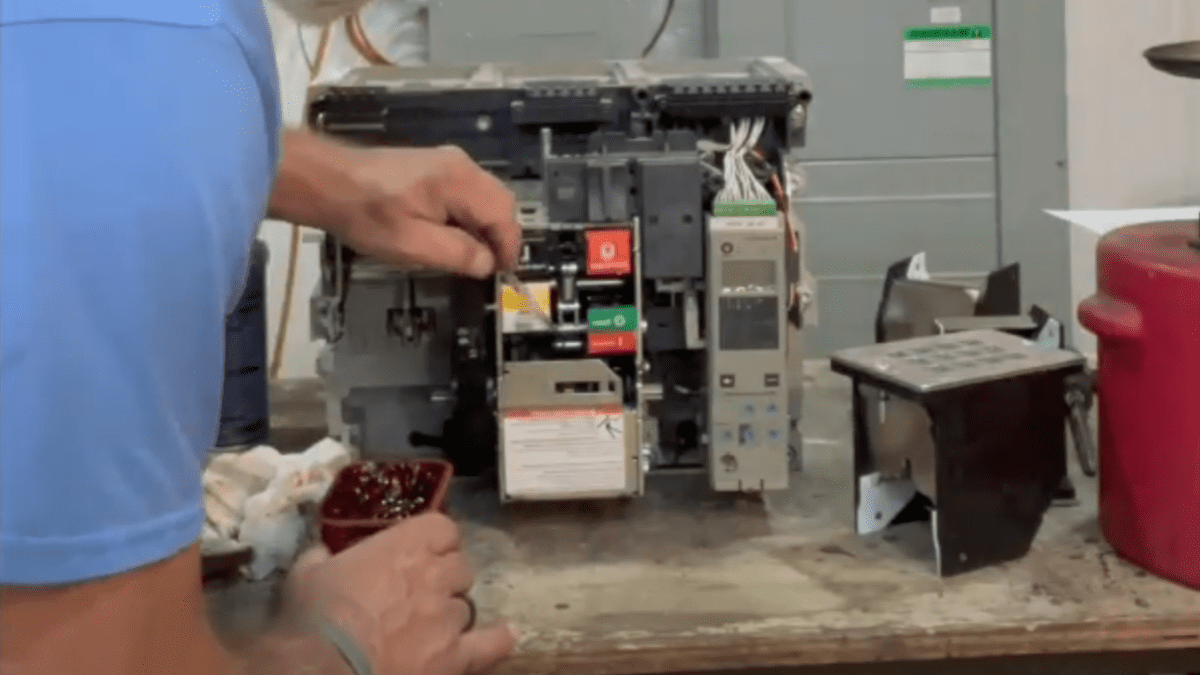
Now, we’ll go over some maintenance points using an NW series Masterpact breaker as a demonstration. You can follow along and watch the demonstration at the top of the page.
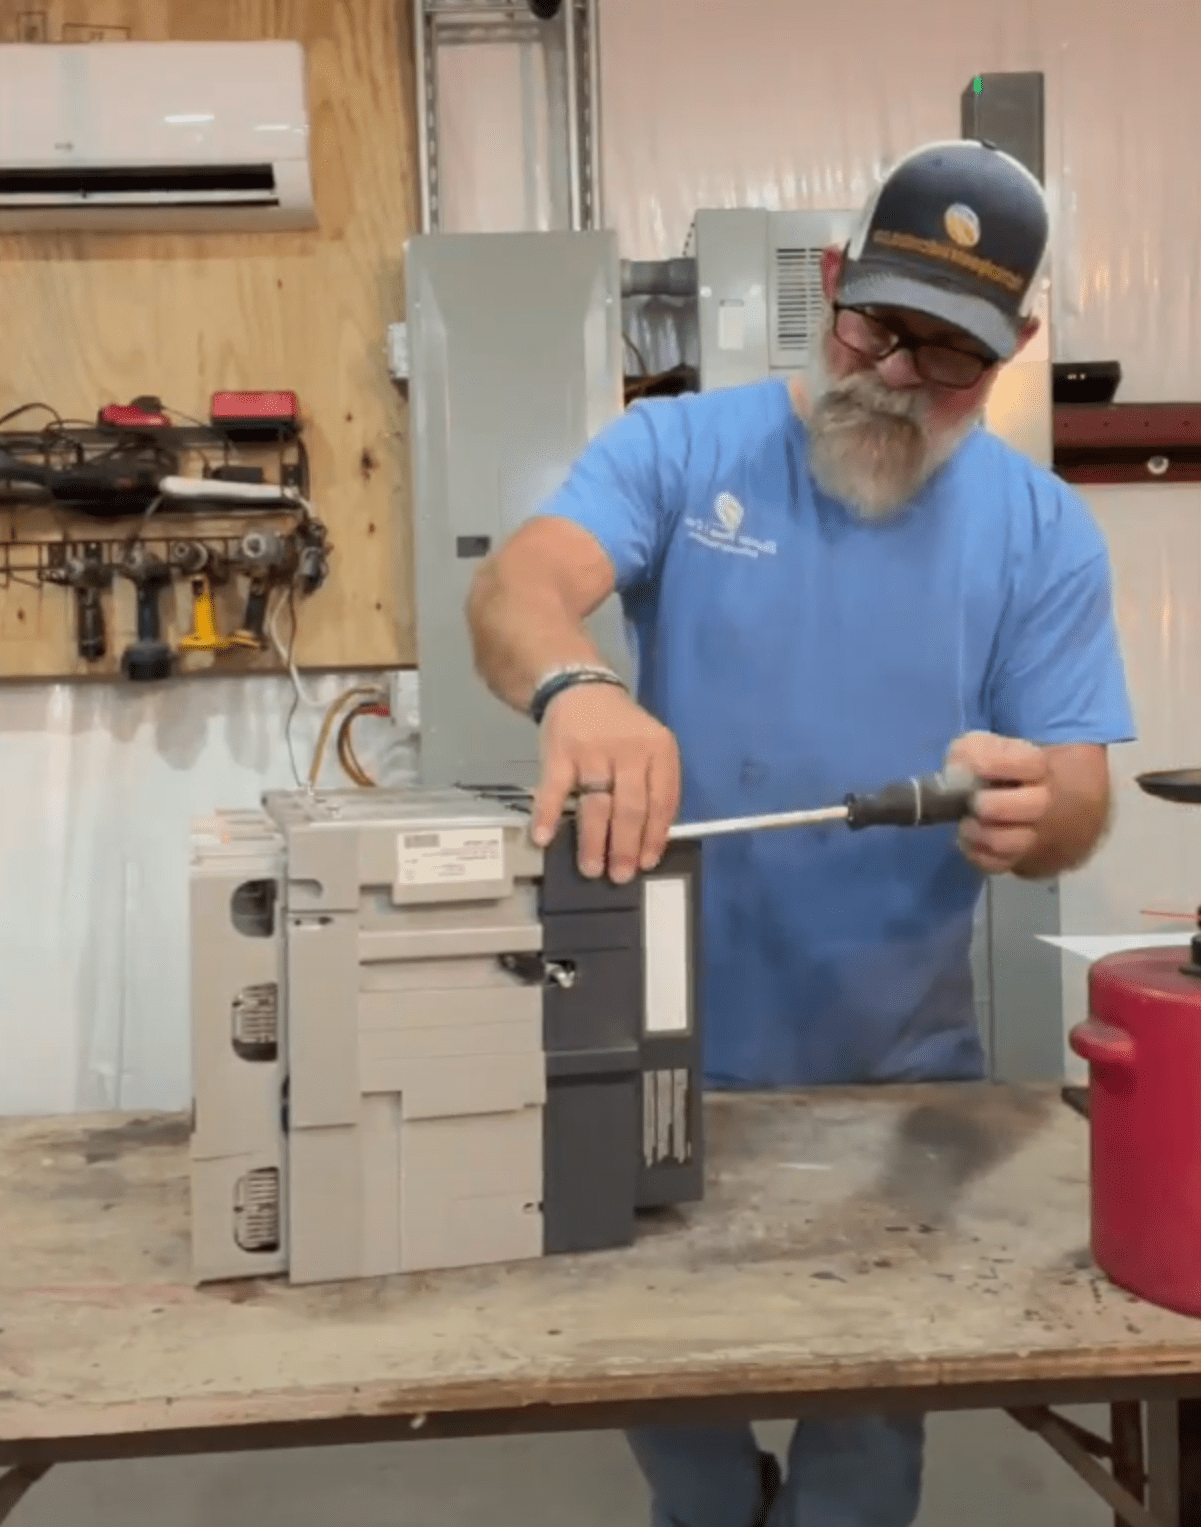
Circuit Breaker Maintenance Points
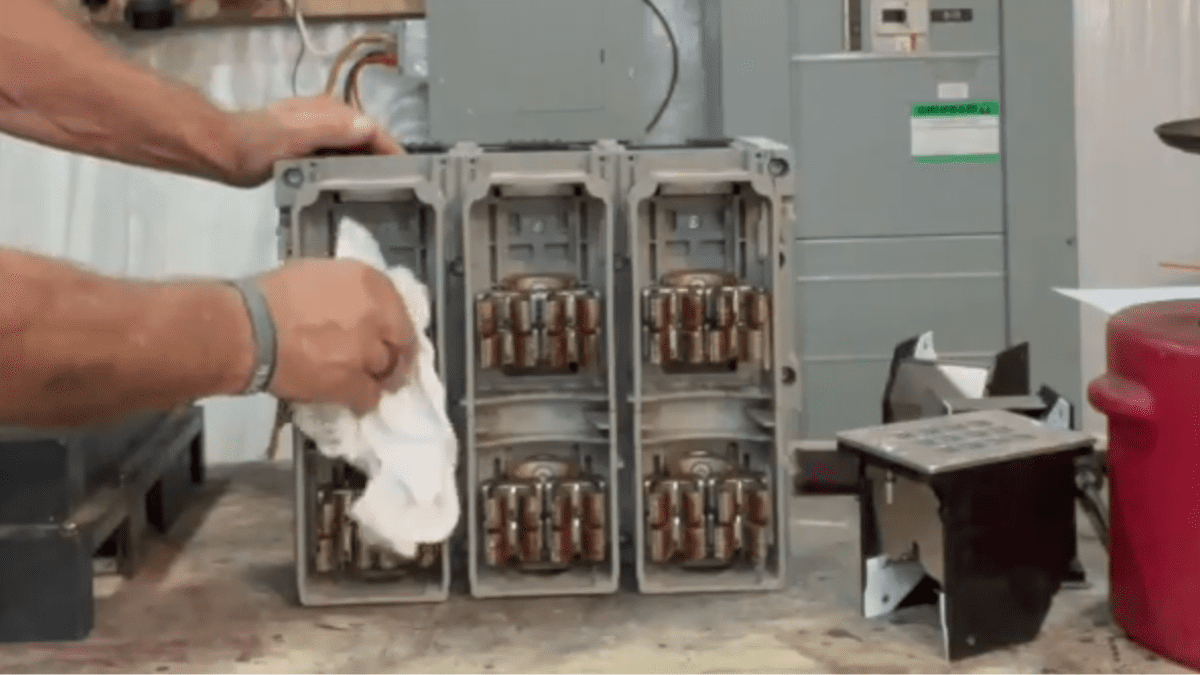
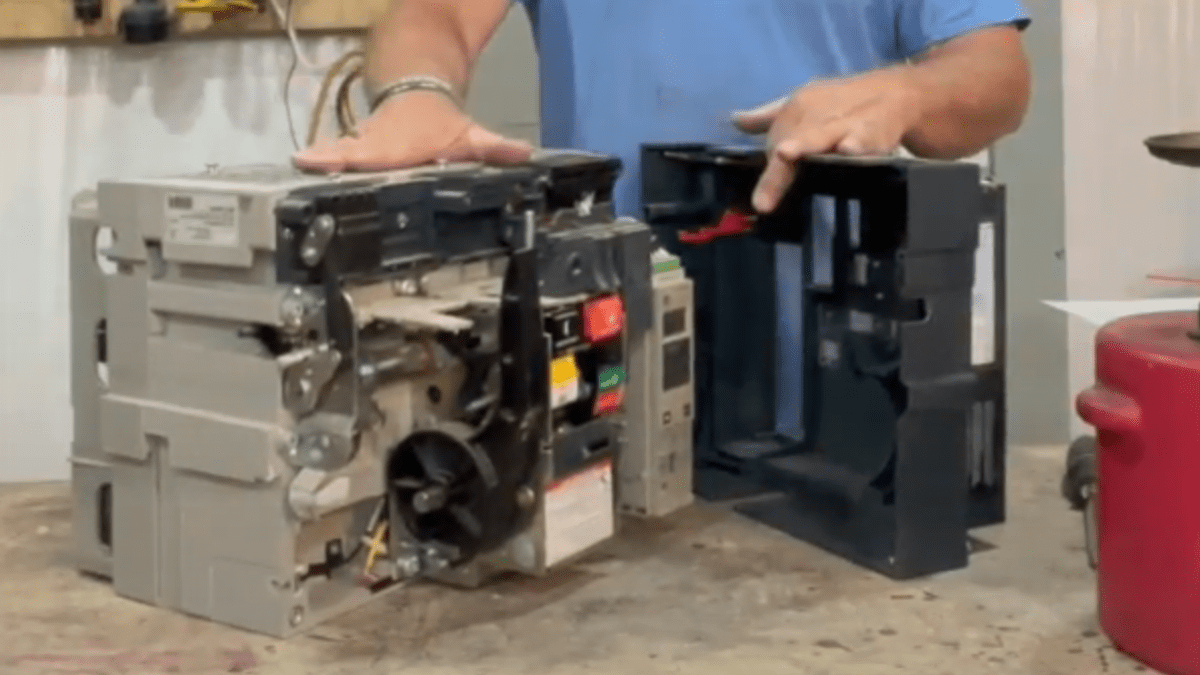
Inspecting and Cleaning Arc Chutes
To maintain the efficiency and safety of your circuit breaker, inspecting and cleaning the arc chutes is a good place to start.
- Begin by loosening the screws on the front cover of the breaker and removing it.
- Carefully pull out the arc chutes and inspect the plates inside for any signs of pitting, arcing, or burning. These issues can hinder the arc suppression capabilities of the breaker.
- If you notice dirt or debris, use a brush, alcohol, and contact cleaner to thoroughly clean the plates. Ensure all loose particles are removed to prevent them from falling into the breaker’s contacts.
- Before reinstalling the arc chutes, wipe them down to remove any remaining residue.
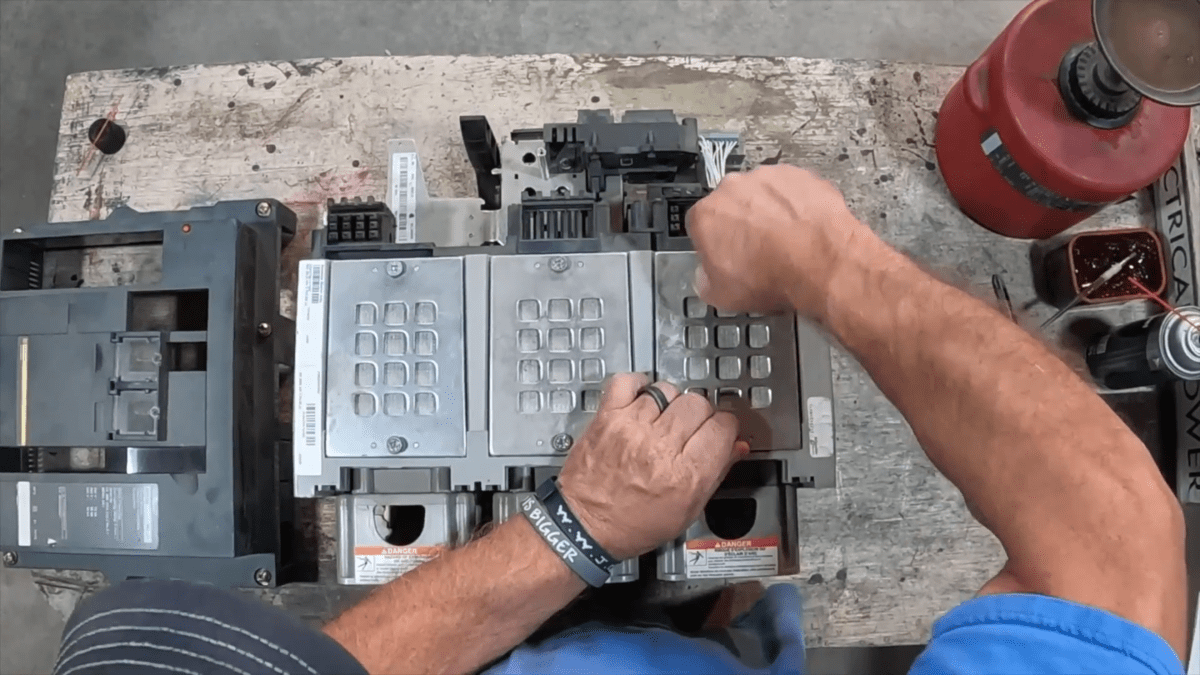
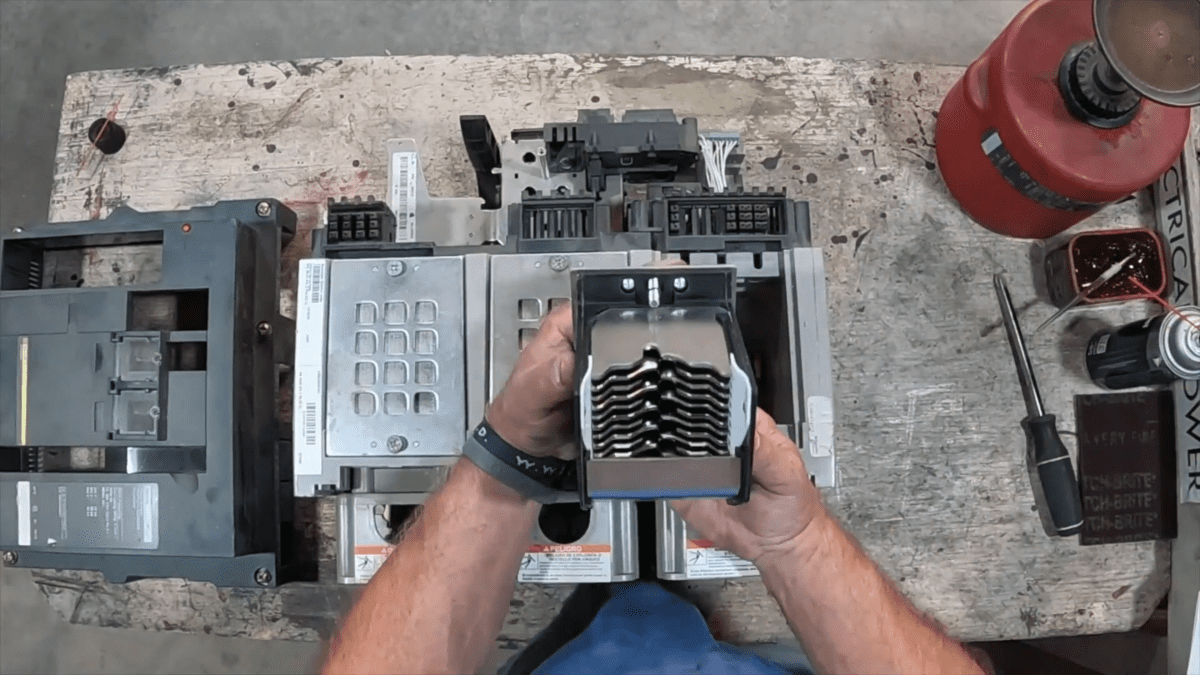
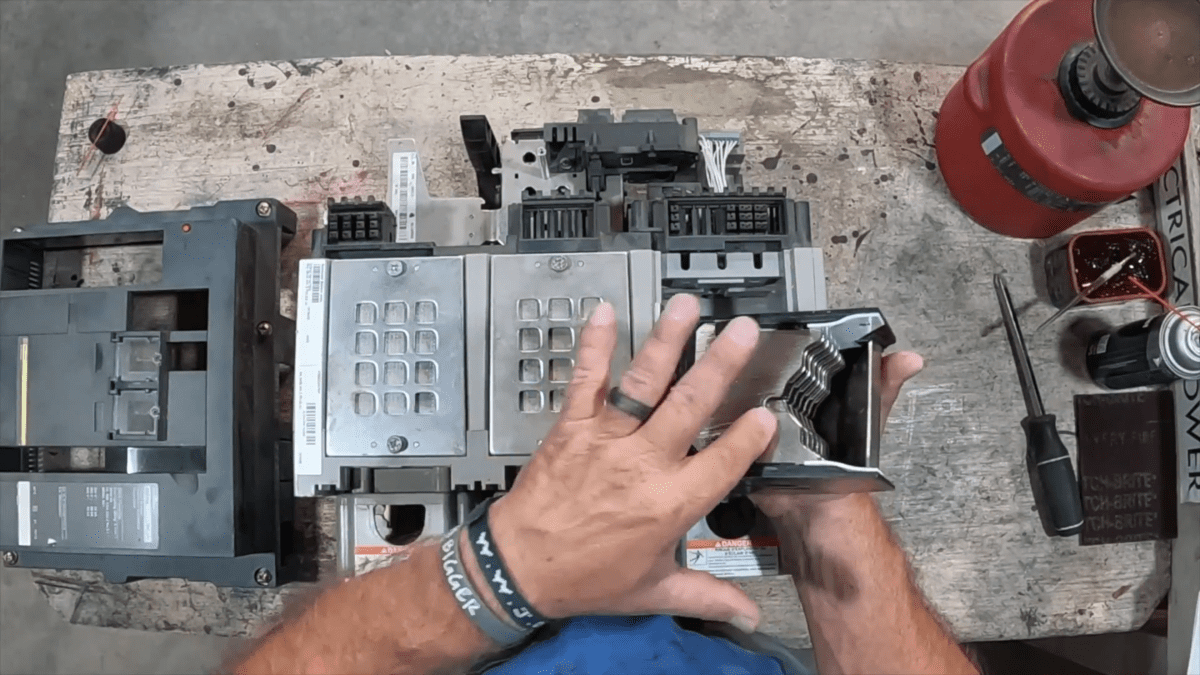
Regular inspection and cleaning can prevent minor issues from escalating into significant problems.
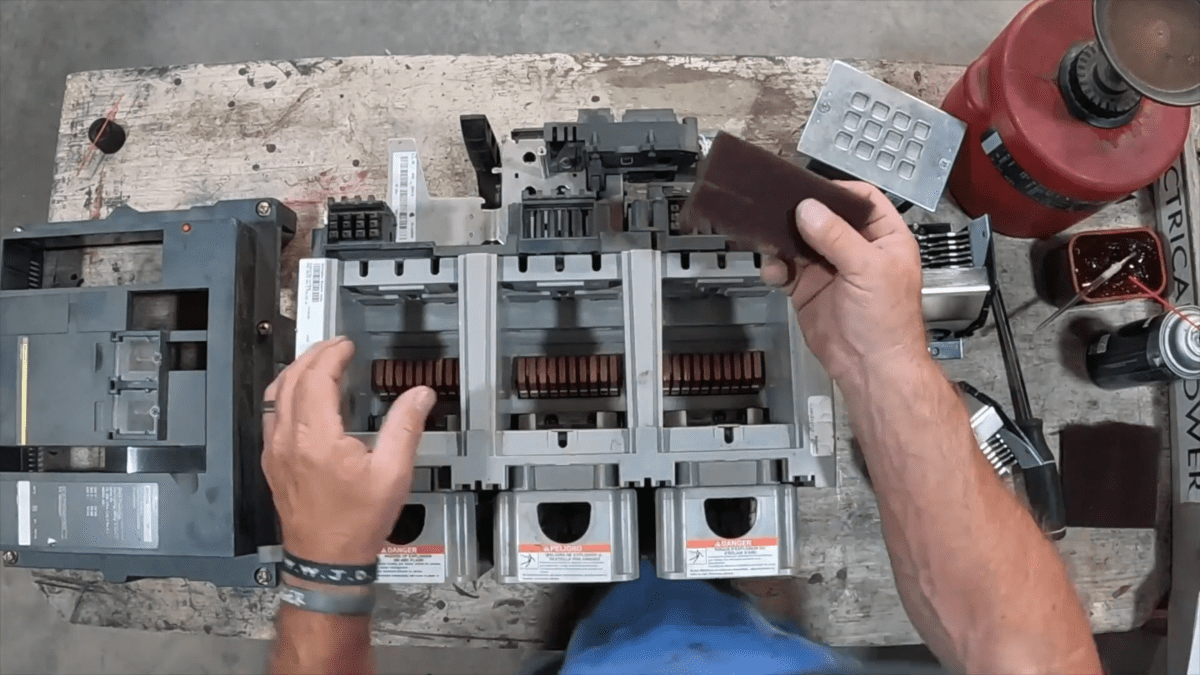
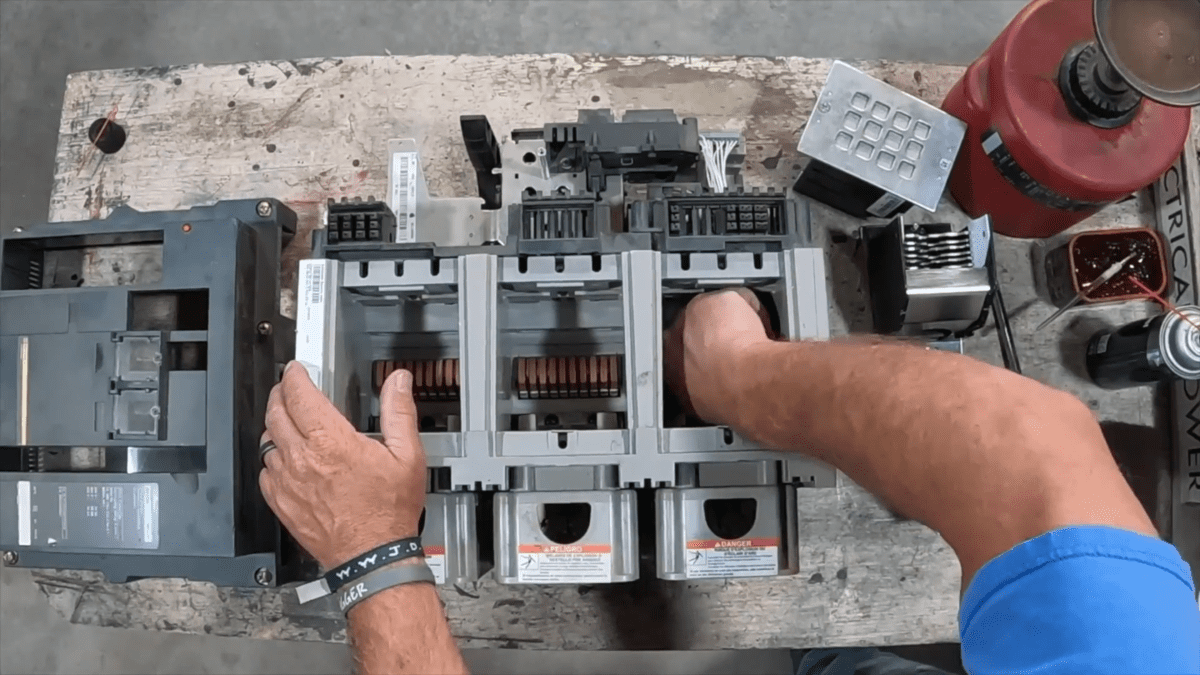
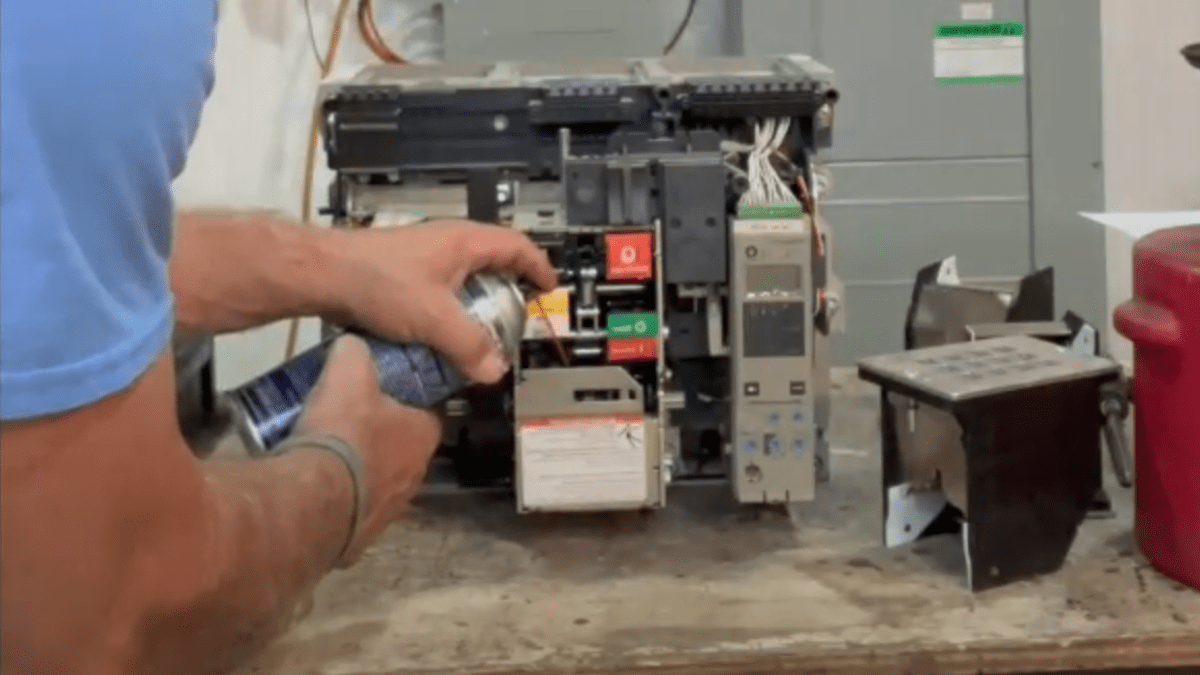
Servicing Moving Contacts
Servicing the moving contacts of your circuit breaker is a vital step in ensuring its longevity and reliability.
- Begin with a visual inspection to check for dirt, debris, or signs of wear. The moving contacts are located on the front side of the breaker, while the main contacts are at the back.
- Use a small piece of Scotch-Brite to clean between the contacts, carefully removing any surface dirt.
- While you’re cleaning, get a good look inside the contact assembly to make sure nothing is out of whack. A big part of servicing your breaker is visually inspecting it and seeing if anything looks off (pitting, arcing, nothing loose on the frame). You can move the contact assembly by hand to make sure everything moves together and nothing is out of line.
- While not everyone agrees, you can then take a very small amount of grease and put it on the moving contact, surface tip only. It’s important to choose a grease that’s electrically safe.
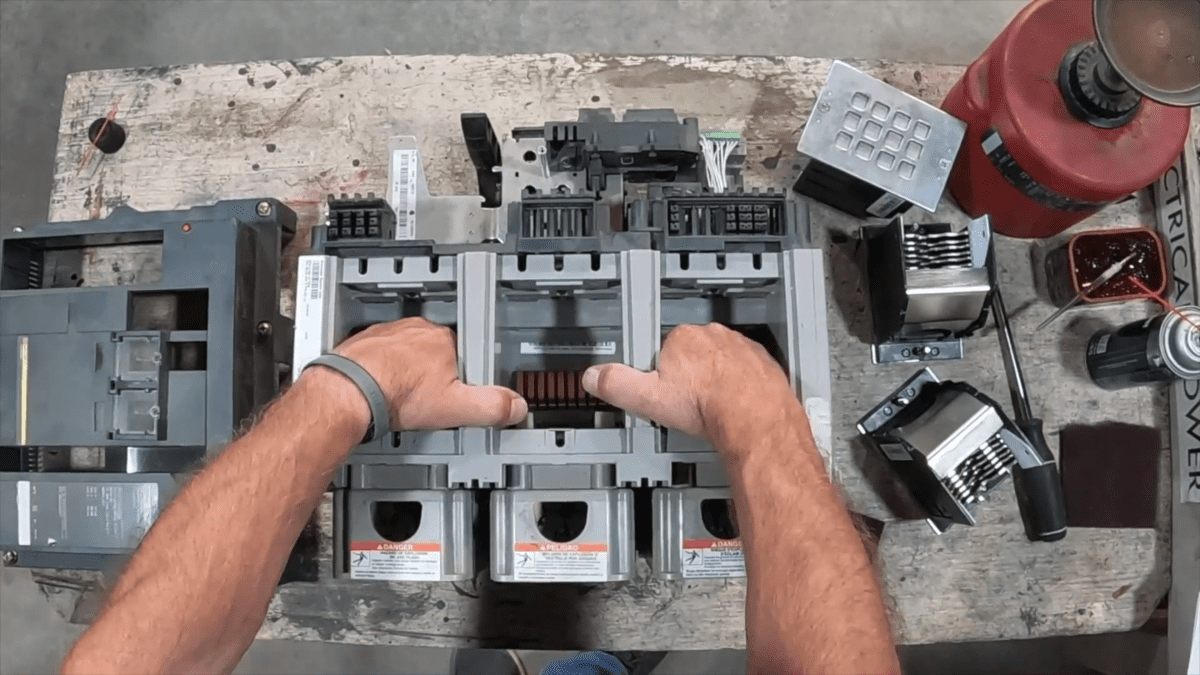
Regularly servicing the moving contacts helps maintain the electrical connections and ensures that the breaker operates smoothly, reducing the risk of malfunction or equipment failure.
Servicing the Primary Disconnect Fingers
Maintaining a clean and properly lubricated connection between the primary disconnect fingers is essential for reliable breaker operation. Here’s how to service them:
- Start by wiping down the area between the fingers with a rag dampened with alcohol. This removes any dirt, dust, or debris that may have accumulated. Pay close attention to any caked-on grease, as a buildup can hinder proper contact.
- For a more thorough cleaning, consider using a small Scotch-Brite pad to further clean between the fingers, followed by another wipe-down with the alcohol rag.
- Once clean, apply a thin layer of electrically safe grease to the contact surfaces of the disconnect fingers using a brush or your fingers. A thin film is all that’s necessary for proper lubrication. Avoid using too much grease, as it can trap dirt and dust, causing future issues.
- After applying the grease, remove any excess. You want a thin, uniform film, not globs of grease.
By following these steps, you can ensure a clean and well-lubricated connection between the primary disconnect fingers, promoting smooth operation and extending the lifespan of your circuit breaker.
Maintaining the Operating Mechanism
The operating mechanism of your circuit breaker houses the closing spring, a critical component for storing the energy needed to close the breaker contacts. Here’s how to keep it functioning smoothly:
- Caution: Ensure the breaker is completely discharged before proceeding. Turn the breaker around to face the front of the operating mechanism, which contains the closing spring. Ideally, you’ll be able to access the mechanism for a more thorough cleaning.
- If full access is unavailable, locate the prop latch, an alternative access point for cleaning. Behind the latch guard, you’ll find the roller. Use contact cleaner to remove any old, caked-on grease from the roller. You can then spin the roller by hand to ensure smooth movement.
- Apply a small amount of the same electrically safe grease you used previously to the roller. Spin it by hand to distribute the grease evenly and ensure there’s no resistance to movement.
Regular cleaning and lubrication of the operating mechanism roller guarantee the smooth operation of the prop latch. A clean and functional latch ensures the breaker closes properly when needed.
Testing Your Breaker
After servicing your circuit breaker, verification through testing is important. During an on-site outage, we follow a comprehensive approach:
- Breaker Pulling and Reassembly: Each breaker is removed, inspected, and reassembled to ensure proper connection and operation.
- High-Current Testing: This test verifies the breaker’s ability to handle the intended current loads.
- Megger Test (Insulation Resistance): This test measures the insulation resistance of the breaker’s internal components, identifying any potential breakdown that could lead to leakage currents.
- Ductor Test (Contact Resistance): This test measures the resistance at the contact points within the breaker, ensuring a strong and reliable connection.
The Power of Preventive Maintenance
It’s easy to overlook the simple maintenance tasks, but their impact can be significant.
Imagine decade-old equipment failing to reclose simply because of accumulated dirt and grime! Here at Electrical Power and Control, we’ve encountered situations where people haven’t powered down their equipment for years, and then wonder why it won’t turn back on.
Regular servicing, which can be as straightforward as cleaning and lubrication, can prevent these headaches.
Deepen Your Knowledge
Curious about how to perform more in-depth maintenance on an NW Masterpact circuit breaker? Watch our comprehensive video tutorial! In this video, you’ll learn step-by-step how to replace the spring charging motor and get a demonstration of how to test the new motor.
At Electrical Power and Control, we’re committed to empowering you with the knowledge and tools to keep your electrical systems running smoothly. Consider us your trusted partner in electrical solutions!